Let’s glue on the strips. Take a pack apart, discarding its staple and pull tab. Cut each strip to approximate length but save the scraps!
Remember those 1/4” strips you cut earlier? Glue one to the bottom edge of your roof and trim it to length. Using a strip as a guide, run a glue line about 1/4” from its top edge and put little dots of glue where the first strip goes and glue it down. Note the dots go in the center of each shingle for this row only. The strip should overhang the bottom edge by 1/8“.
The topmost shingles are trimmed to fit. Don’t forget the area around the chimney!
Another 1/4“ strip was used to “finish” the edge. Trim the shingle ends so there’s a slight overhang and TA DAA! ALL DONE! When you’re done crunching down another cookie do the other side.
QUIZTIME! Take another look at the completed roof at the beginning of all this (HG SHINGLES 1). Did you notice that scraps were used on the 7th and 8th rows from the bottom? I didn’t think so. Me neither.
There you have it! Go shingle some roofs!
BONUS! INDIVIDUAL SHINGLES
If you’re planning on making just a single building or two with a shingled roof and don’t want to go to all of the trouble of making a jig and cutting strips, here’s how I do it:
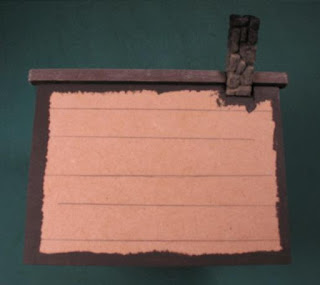
I use the Tree Wrap material but for this demo photo I‘m using thin card for clarity. First, draw horizontal lines 5/16” tall. Then cut vertical slits 1/4“ apart with an Xacto knife, but NOT quite all the way to the top. Lastly, pick the whole thing up and, starting from the bottom, use scissors to cut the shingles apart. VOILA! A pile of shingles. Undercoat your roof dark brown and glue the shingles to it, overlapping each row so the exposed shingles are around 1/4” square.
NEXT: AT LONG LAST! CHUMLEY’S!!!


No comments:
Post a Comment